Multifamily Technical
Subfloor Prep & Flatness Standards
Flatness tolerances, moisture testing, and fastening are what separate a floor that lasts from the callback nobody wants. Here is how subfloor prep actually works on a multifamily job in the Treasure Valley.
Multifamily Technical · 11 min read
On a multifamily project, the finished floor is the part everyone photographs and the part nobody thinks about until it fails. The prep underneath it is the opposite: invisible when it goes right, impossible to hide when it goes wrong. A gorgeous plank set over a subfloor that is out of tolerance, damp, or loosely fastened will telegraph every one of those problems within a heating season or two. Hollow spots. A rocking board at a doorway. A seam that opened over the winter. A squeak that follows a tenant from the entry to the kitchen. These are not finish problems. They are prep problems wearing a finish's clothes.
The reason prep gets shortchanged is simple economics under schedule pressure. Grinding, patching, and pouring underlayment costs labor and days, and on a fast-moving Treasure Valley build it is tempting to treat the slab or the panel deck as "good enough" and start laying material. But the subfloor sets the ceiling on how good the finished floor can ever be. No underlayment pad, no click-lock joint, and no fastening schedule can rescue a floor from a base that was never flat, never dry, or never sound. This guide walks through what the standards actually require, how self-leveling underlayment and fastening fit in, and why skipped prep is the most expensive line item you never see on the invoice.
Why Flatness Is a Number, Not an Opinion
"Flat" is not a judgment call, and reputable installers do not eyeball it. The wood flooring industry works to a specific tolerance published by the National Wood Flooring Association (NWFA): the subfloor should be flat to within 3/16 inch over a 10-foot radius, or 1/8 inch over a 6-foot radius, before any wood goes down. Some engineered products with tight-locking joints and thin profiles push that even tighter, closer to 1/8 inch in 10 feet, because a rigid plank cannot bridge a dip without either flexing or losing contact with what is beneath it.
Those numbers matter because they define what the flooring physically tolerates. When a plank spans a low spot, one of two things happens. Either the board deflects each time someone steps on it, working the joint and eventually loosening it, or the board holds its shape and hangs unsupported over the void. That unsupported span is what a tenant hears as a hollow tap and what an inspector finds as a rocking board. High spots are just as damaging in reverse: they concentrate load, crush pad, and lift adjacent boards so the seam sits proud. Measuring flatness with a 10-foot straightedge and a set of feeler gauges, or a laser and story pole across the field, turns "looks fine" into a documented condition you can accept, grind, or fill before a single box is opened.
Reading the Slab: Moisture Before Anything Else
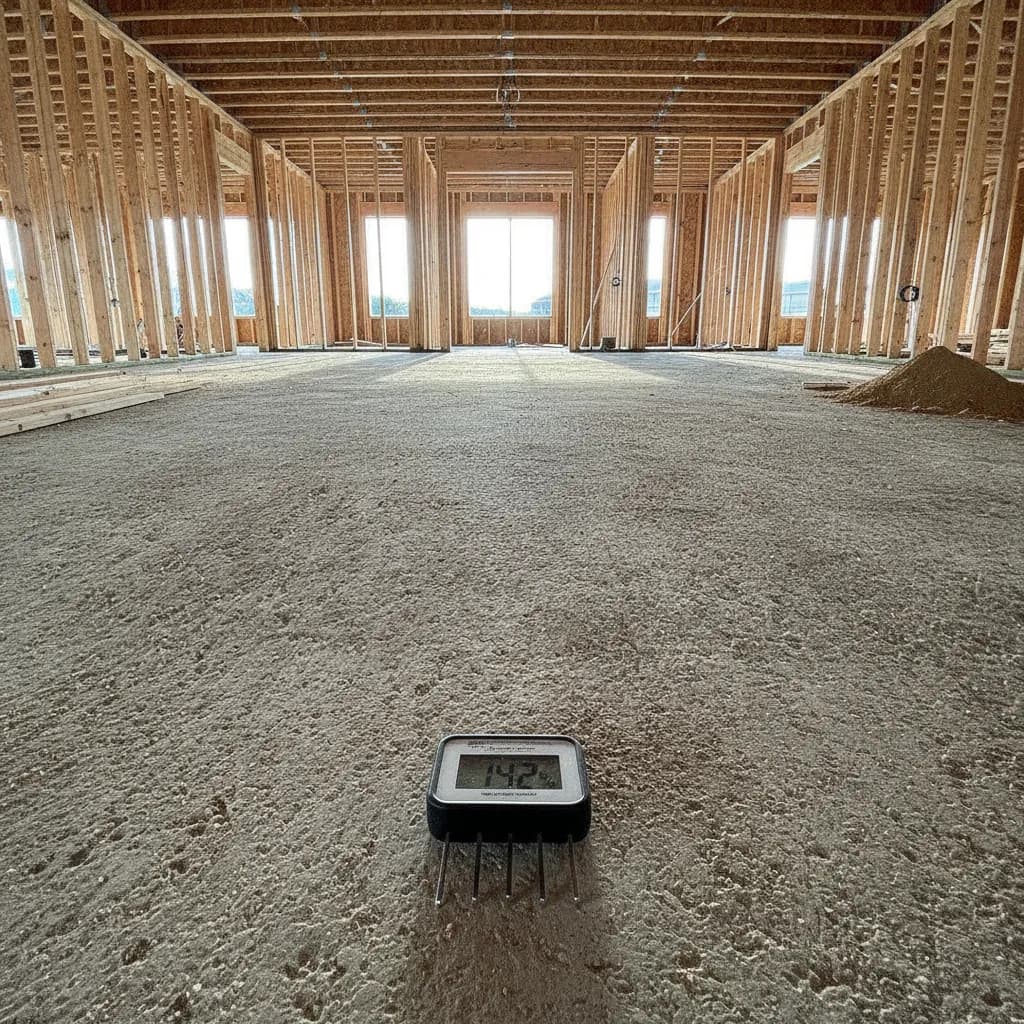
In the Treasure Valley a large share of ground-floor multifamily units and tract homes sit on slab-on-grade. Concrete looks inert, but a curing or poorly isolated slab moves moisture into everything bonded to it, and wood flooring is exquisitely sensitive to it. This is where prep stops being about geometry and becomes about chemistry and physics.
Two ASTM tests carry the weight here. ASTM F2170 measures relative humidity in situ using probes set into holes drilled to a defined depth in the slab, and it is the test most specifications now require because it reads the moisture condition deep in the concrete rather than just at the surface. ASTM F1869, the anhydrous calcium chloride test, measures the moisture vapor emission rate at the surface and is still common, though it tells you less about what is waiting below. A slab that reads acceptable on a dry June morning can still hold enough internal moisture to fail an adhesive bond or swell a wood floor once it is sealed under finish. Testing is not a formality; it is the gate. If the numbers exceed what the flooring and adhesive manufacturers allow, the correct move is a moisture-mitigation membrane or a compatible epoxy barrier, not a hopeful install. The USDA Forest Products Laboratory's Wood Handbook documents in detail how wood gains and loses moisture and swells and shrinks as it does, which is the physical reality every slab test is trying to protect against.
Self-Leveling Underlayment: When Grinding Is Not Enough
When a slab or panel deck is out of tolerance, you have two tools: take material off, or add material back. Grinding handles localized high spots and ridges. But when the field rolls, dishes toward a drain, or a whole corridor drops a half inch over its run, self-leveling underlayment (SLU) is the efficient answer. A cementitious self-leveler, properly primed and poured, flows to a flat plane and cures hard enough to receive flooring, correcting broad deviation that grinding alone would take days to chase.
SLU is not a pour-and-pray product. It demands the right primer for the substrate, an accurate assessment of depth so you order enough material, and control of the pour so the finished plane actually hits the flatness spec rather than simply hiding the old contour under a smoother version of itself. On concrete it must go over a slab that has passed its moisture testing, because a leveler poured over a wet slab traps that moisture and moves the failure up one layer rather than solving it. On wood-framed multifamily decks, self-leveling has to be paired with the right primer, a suitable reinforcing approach, and attention to deflection, since a flexing floor system can crack a rigid topping. Done correctly, SLU is often the single highest-leverage step in the whole prep sequence: it converts a subfloor that would have compromised every unit into one that meets tolerance across the plan.
Fastening and the Squeak Nobody Wants to Chase
Squeaks are the callback that defines a multifamily project's reputation, and almost all of them are born in fastening. A squeak is movement plus friction: a panel rubbing a joist, a nail shank sliding in and out of wood as load cycles, two boards chafing where they were never held tight. On a wood-framed deck the fix is not mysterious, but it has to happen before the finish floor goes down, because after that the access is gone.
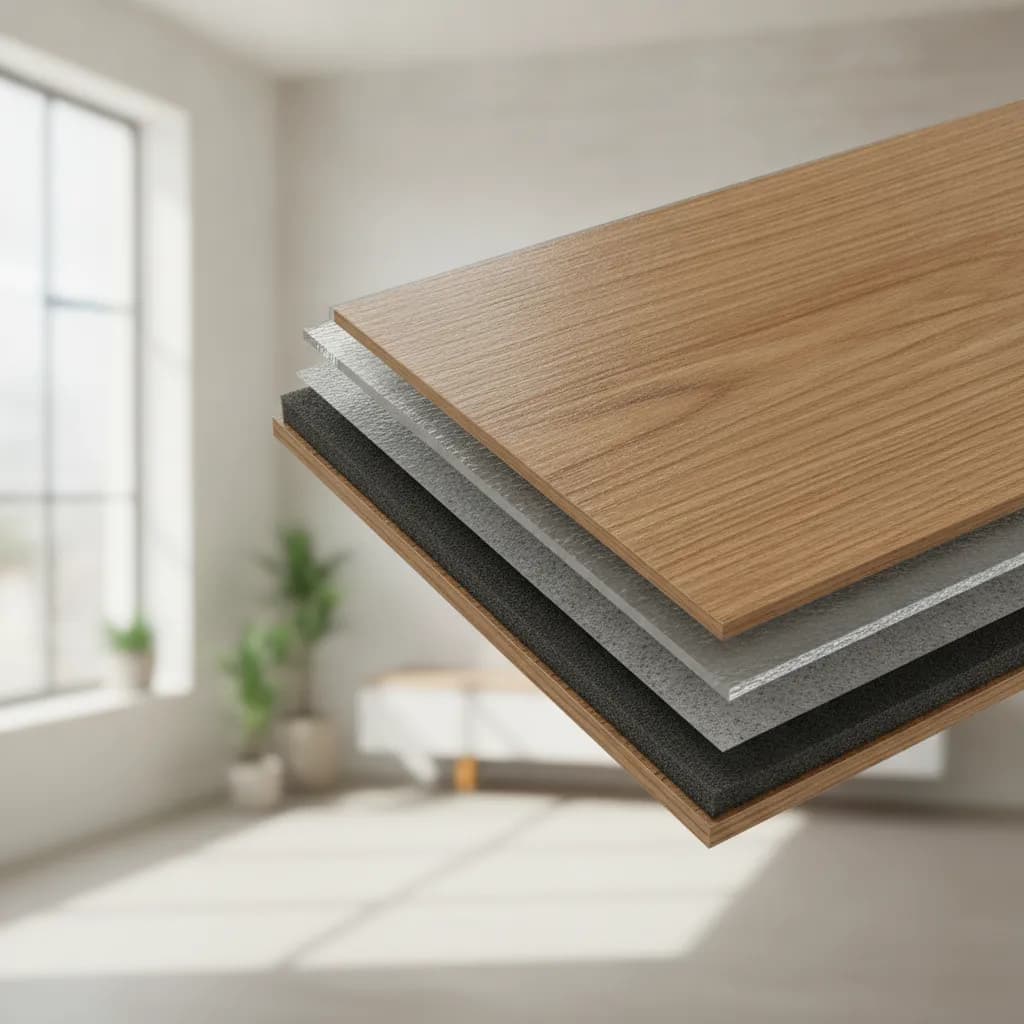
Proper practice means fastening the subfloor panels to the framing on a real schedule, not a random pattern, with fasteners sized and spaced to pull the panel into firm contact with each joist. Screws, or a glue-and-fastener combination that bonds the panel to the framing, dramatically reduce the panel-to-joist movement that causes the most common squeaks. Panel gapping at the tongue-and-groove edges matters too, since panels expand and a butt-tight installation buckles and rubs. Where an existing deck already squeaks, the honest sequence is to locate the joists, re-secure the loose panels into solid framing, and confirm the noise is gone before covering it. The same discipline applies to how the finish floor itself is fastened or floated: a nail-down hardwood needs the correct cleat spacing along and across the run, while a floating engineered floor needs the specified expansion gap at every wall and vertical obstruction so seasonal movement has somewhere to go instead of pushing a seam apart. Our engineered wood flooring options each carry their own fastening and gapping rules, and matching the method to the product is part of prep, not an afterthought.
Bond, Sound, and the Codes That Govern Multifamily
Prep in a multifamily building answers to more than the flooring manufacturer. Adhesive bond depends on a clean, sound, contaminant-free substrate; a slab still carrying curing compound, dust, or old adhesive will release no matter how good the new glue is, which is why surface profiling and, where called for, testing to standards like ASTM F1869 and F2170 precede any bonded install. Assemblies also have to satisfy the building's acoustic requirements. In stacked residential construction the sound-control layer between units is not optional, and the way the floor assembly is built and tested against standards such as ASTM E492 for impact sound and ASTM E90 for airborne transmission, with results expressed through ASTM E413 ratings, is written into most specifications. The International Building Code (IBC) sets the floor for those sound requirements in dwelling separations. Where hard surfaces meet wet areas or transitions, slip resistance under ANSI A326.3 (DCOF) comes into play. None of this changes the prep fundamentals, but it does mean the underlayment, membrane, and assembly chosen for flatness and moisture also have to be the ones that keep the building code-compliant, which is exactly the kind of conflict that surfaces during spec and submittal coordination rather than mid-install.
Sequencing Prep on a Fast Treasure Valley Schedule
Growth in the region means many floors are going into buildings that are still drying out. A slab poured weeks ago, drywall mud still releasing moisture, HVAC not yet balanced, and framing lumber that arrived at one moisture content and is now equilibrating to Idaho's dry interior air all conspire against a floor installed too early. Wood acclimation and jobsite conditioning are part of prep, not separate from it: the material and the building should be near the temperature and humidity they will live at before the floor is set, so the boards are not installed swollen in a humid shell only to shrink and gap once the heat comes on.
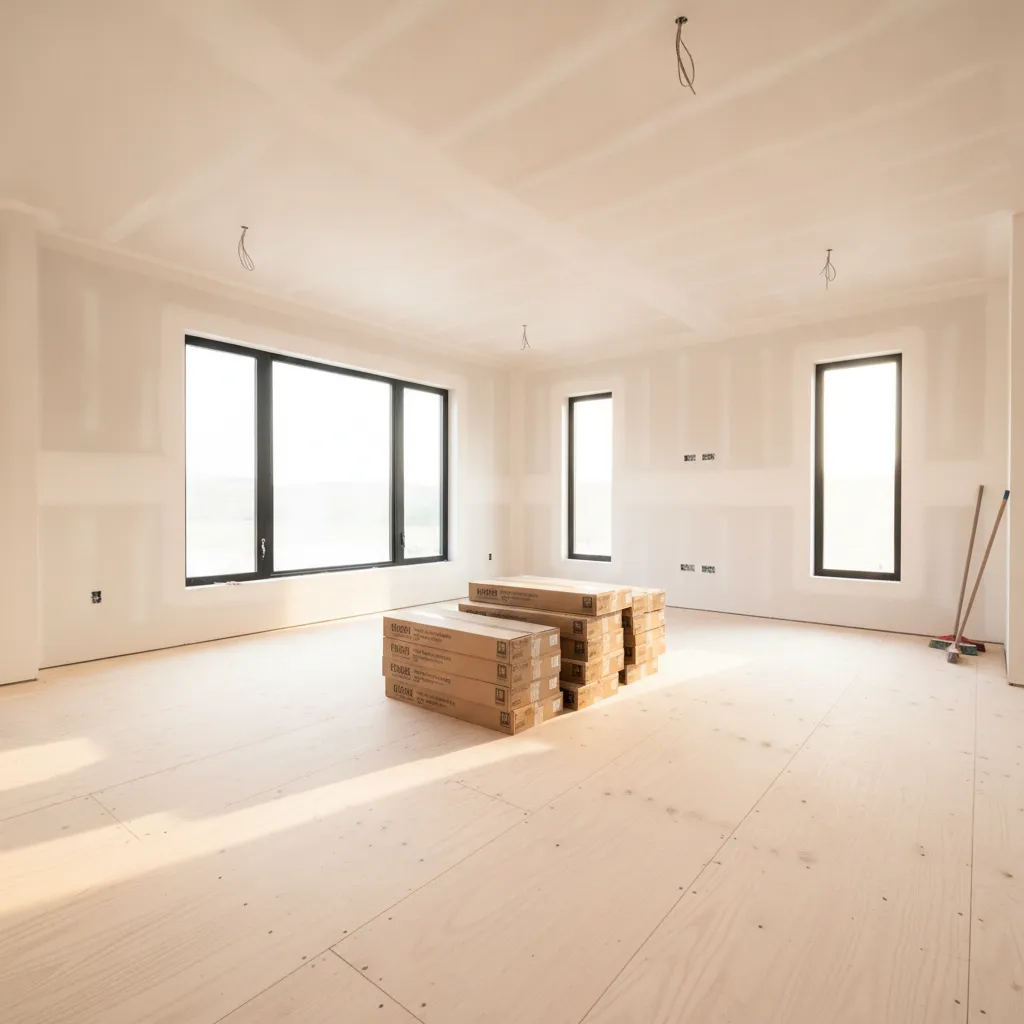
That reality forces sequencing decisions. Moisture testing has to be scheduled late enough to mean something. Self-leveling has to cure before flooring. Fastening corrections have to precede the finish layer. On a phased multifamily build, coordinating that order across trades and units is where prep either holds the schedule or blows it, and it is a conversation developers and property teams benefit from having before the flooring crew is standing in the corridor with pallets and a deadline.
When Skipped Prep Becomes the Callback
Here is the arithmetic that makes prep non-negotiable. Correcting a subfloor before the finish goes down is grinding, patch, or a pour, done once, in an open room, on a scheduled day. Correcting it after is tearing out finished flooring, working around installed cabinetry and appliances, disrupting an occupied or nearly-leased unit, and re-installing material that was supposed to be done. Multiply a single unit's rework by a building's worth of repeated defects and the "saved" prep time becomes the most expensive decision on the project, paid back with warranty labor, sour tenant relations, and a reputation the whole property carries.
The failures are predictable because they trace straight back to the step that was skipped. Hollow spots and cupping trace to flatness ignored. Buckling and gapping trace to moisture untested or acclimation rushed. Squeaks trace to fastening skipped. Bond failure and lifting tile trace to a substrate never properly cleaned or profiled. Every one of them was cheaper to prevent than to chase.
Alderwood Flooring approaches Treasure Valley and Boise-metro multifamily work the way the standards intend: measure flatness to NWFA tolerance, test slab moisture to ASTM F2170 before anything bonds, correct with grinding or self-leveling underlayment as the field demands, fasten to prevent the squeaks that generate callbacks, and sequence it all against the building's real drying timeline. We are an Idaho Registered Contractor (Idaho RCE-6681702), insured, and we back the workmanship. If you are planning a build, a renovation, or a re-floor and want the layer under the floor done right the first time, reach out through our contact form and we will walk through the subfloor conditions and the spec with you before the first box is opened.
Sources & Further Reading
Explore related

Ready for Floors You'll Love?
Ready to talk through your project? Free estimates throughout The Treasure Valley & Boise Metro.